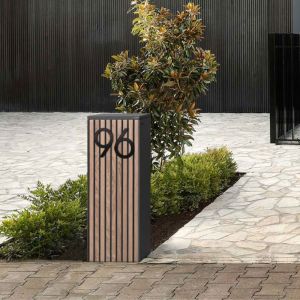
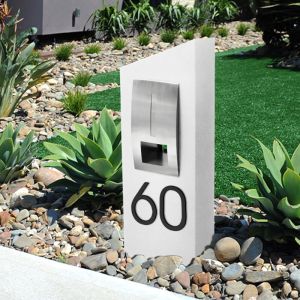
Letterbox
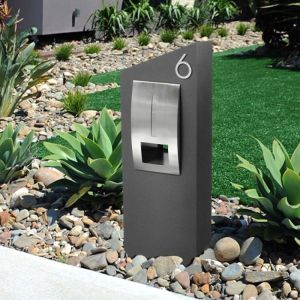
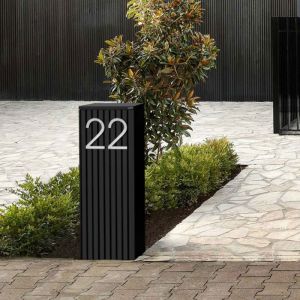
The Block Shop can help ensure your street appeal is the best in the street without range of letterboxes. Nothing says street appeal like a super stylish letterbox from The Block Shop.
The Block Shop has an extensive range of letterboxes, outdoor furniture, outdoor lighting, pots, planters, verticals gardens, artificial grass, outdoor cushions, outdoor umbrellas, heating and cooking accessories. At The Block Shop, you are sure to be able to find something for your outdoor space that you will love and NEED now!
You don’t even have to leave home. You can shop for all your outdoor furniture and homewares online at The Block Shop. The Block Shop has great shipping options Australia-wide and we have some great outdoor products ready and waiting to be sent to your door.
How to install a letterbox?
Here are the general steps for installing a letterbox:
1. Choose the location for the letterbox. It should be easily accessible from the street and away from any obstacles like trees, fences, or walls.
2. Mark the location of the post. Use a tape measure to find the correct height and position for the post, and then use a marker to mark the location.
3. Dig a hole for the post. Use a shovel or post hole digger to create a hole that is deep enough to hold the post securely in place.
4. Insert the post. Insert the post into the hole and use a level to make sure it is plumb (vertically straight) in both directions.
5. Fill the hole with concrete. Mix up a batch of quick-setting concrete according to the manufacturer's instructions and pour it into the hole around the post. Use a trowel to smooth the surface of the concrete.
6. Allow the concrete to set. Follow the manufacturer's instructions for the specific drying time, which typically ranges from 24 to 48 hours.
7. Attach the letterbox. Once the concrete is dry, attach the letterbox to the post using the hardware provided with the letterbox.
8. Add any finishing touches. You can add decorative elements like plants or a stone border around the base of the post to complete the look. Always be sure to follow any specific instructions provided with your particular letterbox, as installation steps may vary.
How to get rid of snails in letterbox?
Snails are attracted to damp and cool environments, so it's not uncommon to find them in letterboxes. Here are a few ways to get rid of snails in your letterbox:
1. Remove any debris: Snails like to hide in dark and damp spaces, so removing any debris or leaf litter around the letterbox can help deter them.
2. Clean the letterbox: Regularly cleaning the letterbox and removing any mail or paper can also help deter snails.
3. Use repellents: There are a variety of snail repellents available, including copper tape or mesh, which can be placed around the base of the post to create an electrical barrier that snails don't like to cross. You can also try using garlic or vinegar spray around the letterbox to repel snails.
4. Install a snail trap: You can create a simple snail trap by placing a shallow dish of beer near the letterbox. Snails are attracted to the smell of the beer and will crawl into the dish, where they will drown.
5. Consult a professional: If you're having persistent problems with snails in your letterbox, it may be worth consulting with a pest control professional for additional solutions. Remember to handle snails with care if you choose to remove them manually, and avoid using harmful chemicals that may be dangerous to pets, children, or the environment.
How to fit a letterbox?
Here are the general steps to fit a letterbox:
1. Choose a suitable location: Choose a location for the letterbox that is easily accessible from the outside of the property and can be reached by the postman.
2. Measure and mark the location: Use a measuring tape and pencil to mark the centre of where you want to install the letterbox on the door or wall.
3. Cut the hole: Using a jigsaw or hole saw, cut a hole in the door or wall, following the measurements you marked in step 2. Be sure to wear protective goggles and gloves during this step.
4. Attach the letterbox: Position the letterbox over the hole and secure it in place using screws, bolts, or mounting brackets. Follow the manufacturer's instructions for the specific type of letterbox you have.
5. Finish the installation: If necessary, apply sealant around the edges of the letterbox to prevent drafts or leaks. Be sure to check that the letterbox is level and secure before use. Remember to follow any additional instructions that come with your specific letterbox, and consult with a professional if you have any concerns or questions during the installation process.